Tag Archive | bag

A Bag of Beauty!

The Virtual Sewing Room had a Sewalong Session on Saturday, using the Helen’s Closet Costa Tote Bag pattern. I hadn’t originally intended to do it, but I’m a martyr to FOMO.

I wasn’t sure what fabric to use. I’ve cut my stash down a fair bit, but I pulled out a deep teal coloured sateen, left over from a dress I made a long time ago. The remnants were too pretty to get rid of, and I’d always thought I could combine them to make something else. Then when I was rummaging around to see what other bits I’d got, I pulled out this dress that I also made a long time ago and which I no longer wear and I’d been meaning to upcycle for ages. And it was a marriage made in heaven! Another sateen in the same sort of weight. And so pretty!

This is officially the right way out

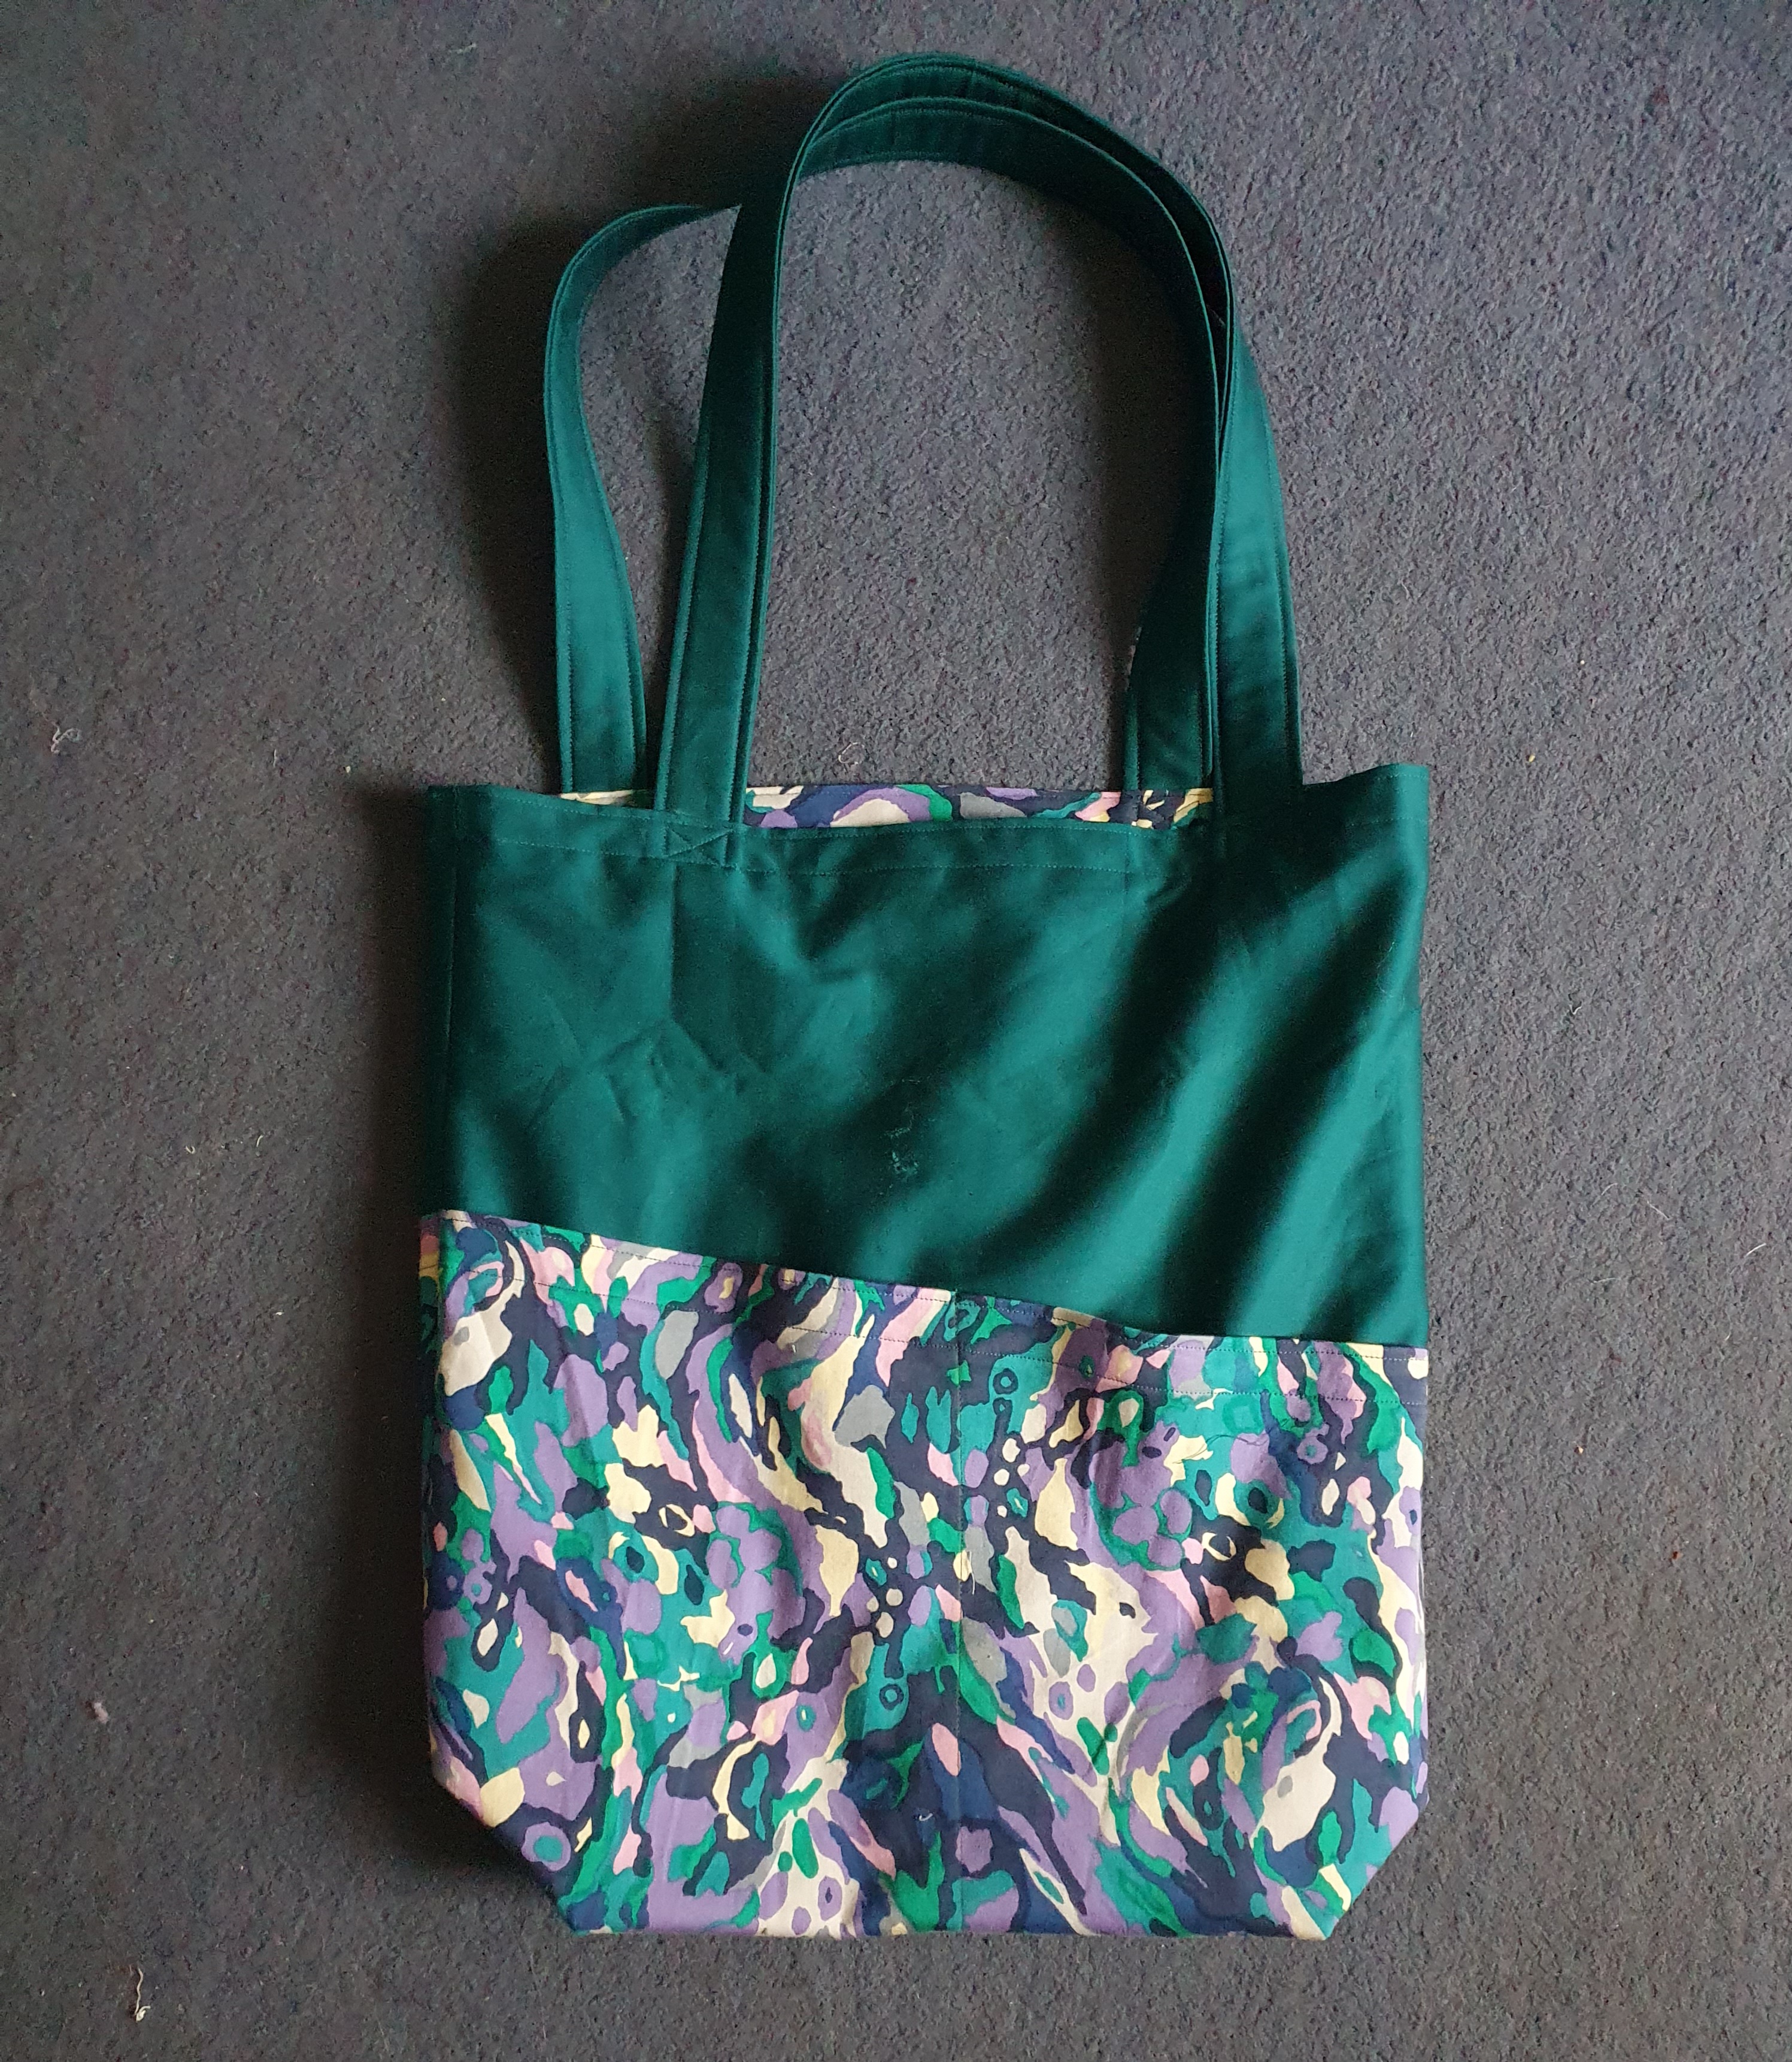
The Costa Tote is a free pattern from Helen’s Closet Patterns, if you sign up for her email list. She’s not been at all spammy, so it’s no hardship at all. And it’s a smashing pattern. It’s a bit fabric hungry, because it’s big and roomy, and it’s fully lined, and it has mahoosive pockets, but it’s definitely worth it.

And this is the inside, with a bonus patch pocket (don’t look too closely!)

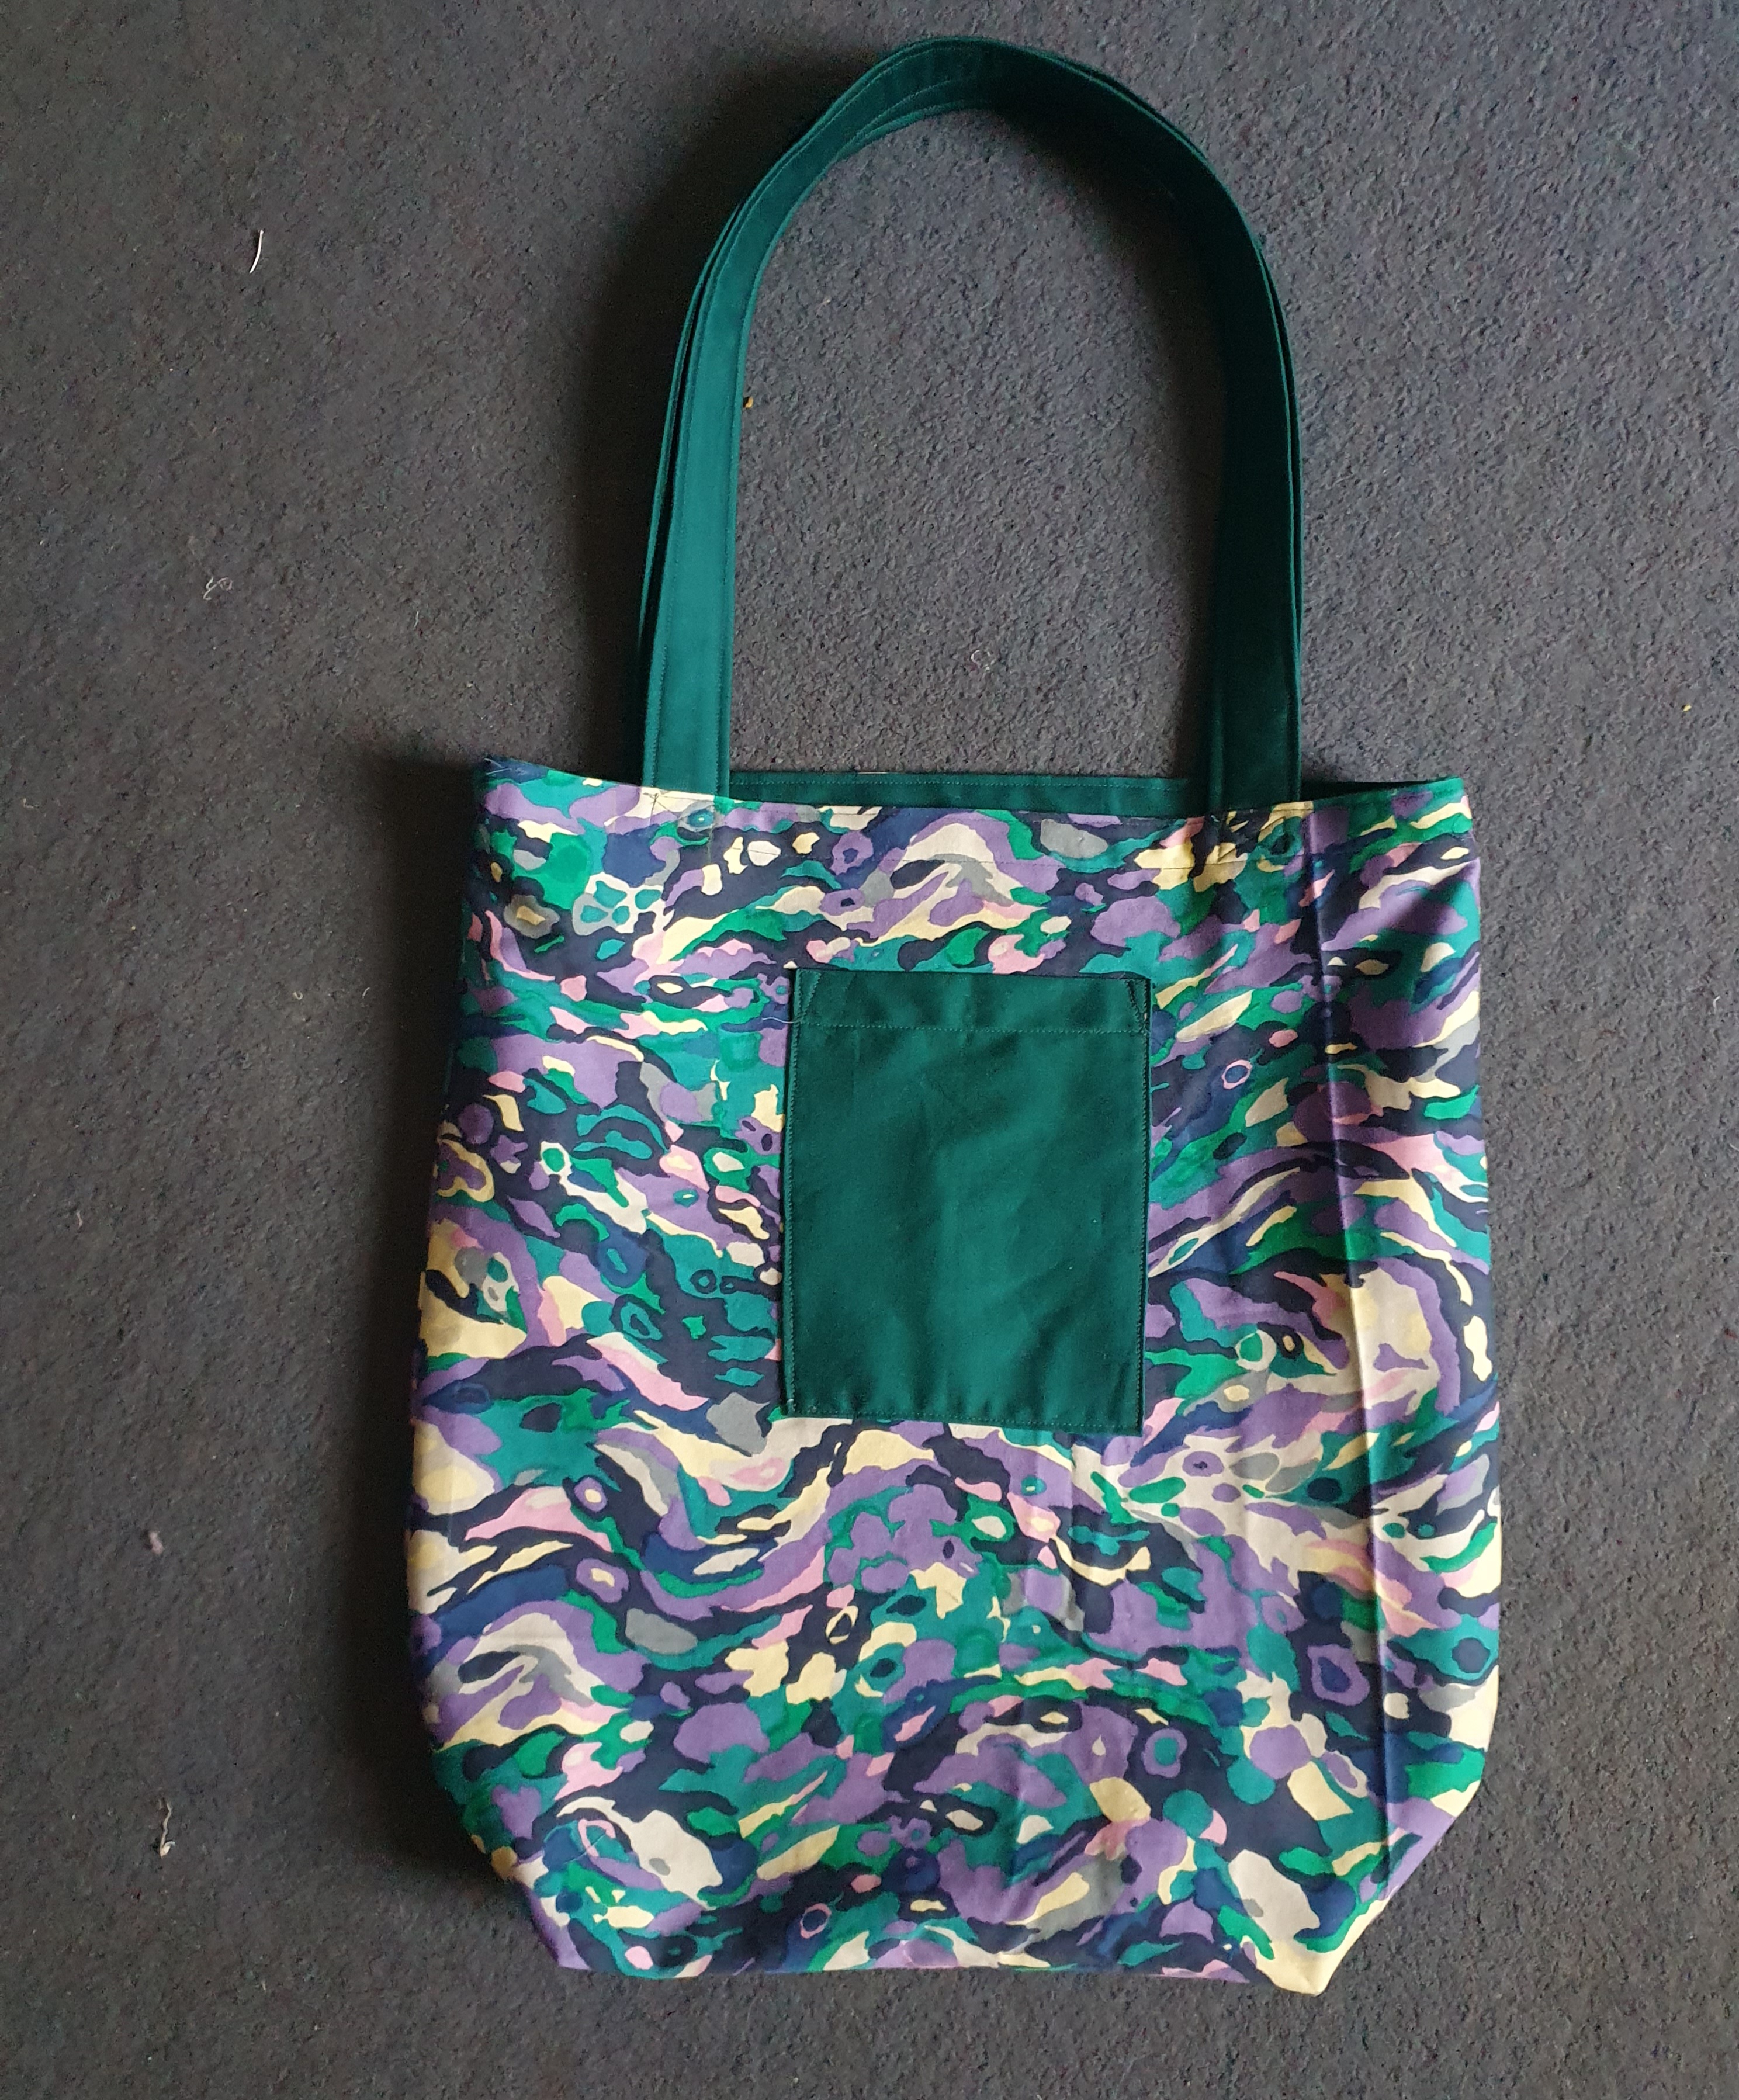
It’s reversible, so if I wanted to, I could have the big capacious pockets hidden inside, and the glorious swirly fabric all on show. It’s properly robust, and I feel like I could sling quite a lot into it, and it would hold up fine.

The pattern was easy to follow, and made good sense. I tweaked it only very slightly to add that patch pocket, and to make the straps a smidge longer, because if I wear a big jumper or coat, I don’t want to feel I’m all constricted.

The other Virtual Sewing Room participants all made amazing versions of this bag, with webbing straps, with built in key rings, with fewer pockets, more pockets, zipped pockets… You can see here. I think there’s probably still a few more that haven’t submitted photos yet.

The Monochrome Tote Bag Upcycle

I was so pleased with my FringeMonster canvas tote bag upcycle back in August that I decided I wanted to do more of that, and I started a rather more marathon project. I wanted to cover up the whole bag with black & white fabric scraps from past projects.

The doings…
Started it off at a SurreySews Picnic on the one lovely day of the summer.
Going well after three weeks
Getting there
The last bits of patching up to do from a couple of weeks ago
Patching up all done, adding a lining

When it came to adding a lining, I was determined to use what I’ve got, and I dug out this very pretty cotton, that I’ve had for aaaaages, and only had 25cms of (a skinny quarter, I believe they call it). Not to worry, the gorgeous pattern repeated, so I could cut it in half and sew it together to make it taller. It was just about wide enough. You wouldn’t believe how tiny I had to make those seams! There was an overlap, so I used it to make pockets – waste not, want not. And as all the black & white patching up had been done by hand, I decided to make the lining by hand. I like a bit of hand sewing.

Lining all in place
All done, and I’m thrilled with it!!!!!

Bag

I haven’t made bags. Yet. This is a makeover of a cheap promotional canvas tote. I had a couple of these bags from work, as well as a couple of others. I’d been thinking for a long time that I’d like to cover the logos somehow, and make the bags a bit less commercial.

I came across Birgitta Helmerson and her work on Zero Waste (thanks to Zoe’s Check Your Thread podcast), and spotted these bags in her Instagram feed. They were my inspiration for covering up the logos with a load of fabric strips.

Photos very much stolen from Birgitta’s Instagram. Perfectly willing to delete if you’re not happy about this Birgitta.

I have some WIPs that I know in my heart of hearts that I’m never going to finish, and I decided to use one of those and shift it from sad bits of cut out fabric that won’t ever see the light of day, to splendidly pink bag.

The doings

My fabric was a very floppy viscose, that I’d originally cut to make a slightly flouncy blouse. I decided to cut it into 3cm wide strips, and attach them to my tote, at 2cm intervals. I wanted to include a fringe at the bottom, and then I decided to include some at the top of the bag, to balance it out.

I drew the sewing lines, and as you can see, I first thought about making it 1cm intervals, but then I realised that would be quite a lot.

Sewing lines

Then I did some maths. Sewing involves a lot of maths. I needed to know how many strips of fabric I would need.

The maths. I couldn’t be bothered to find a bit of paper. I knew I was going to sew fabric all over it!

My next decision was to tear the strips rather than cut them, so as to have an interesting texture. On reflection, this may not have been my brightest idea. It frays like a git. But my guess is, it would still have frayed if I’d cut it.

I sewed the strips on. The fabric was thin and flimsy enough that I could more or less see the sewing lines through it, which made it all a lot easier.

And here we are! A much more fun and less commercial bag, which I think is probably stronger for having the extra stitching. I will always be on Fray Alert, but that’s a duty I can live with.

The Fringe-Monster